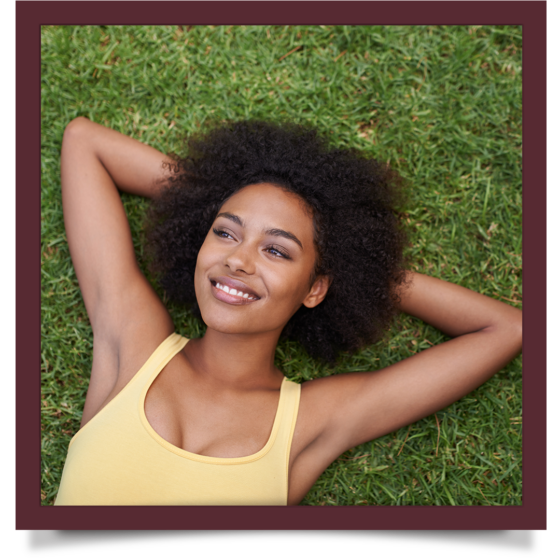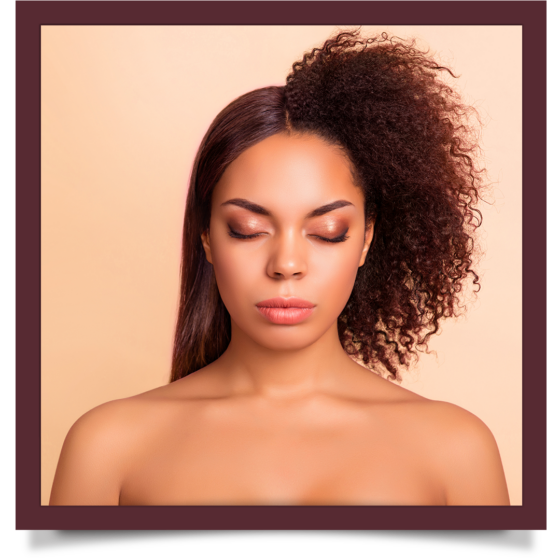
School is here for some and just around the corner for others. Whether you’re styling your daughter’s hair or you’re at the stage of styling your own look for school, we have 6 easy styles to help take the stress away from your first week of school using bantu knots!
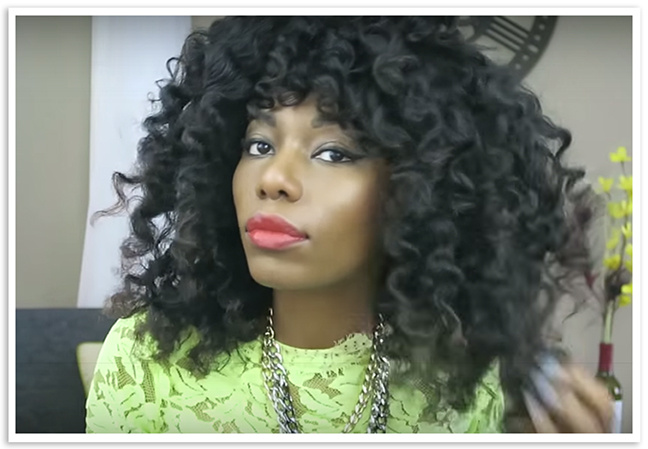
Day 1: The bantu knot-out. To achieve a great bantu knot, spray your dry, stretched hair with Midnite Train Leave-in Conditioner. Twist your hair with Good Hair Conditioning Style Crème. For each twist, tightly wrap the twist into a bantu knot. Let this set overnight. (Note: creating twists and knots in smaller sections will give you tighter curls that will last.) The next morning, gently unwind your bantu knots and separate the twists. Use a pick to puff out the hair if needed. Give your self a side part, spray with a bit of Glossy Finishing Hair Polish and go!
Overnight: Each night, gently pull up your hair into a bonnet. You may need to re-knot the front of your hair…depending on how well it holds a curl.
Day 2: The bantu knot-out rebooted! You’ve spent a LOT of time to get those bantu knots, so let’s rock this another day! If the front section of your hair is softer and more prone to frizz, bantu knot the front perimeter of your hair, leaving the rest of your hair out in its bantu knot out. Let the knots set overnight. Gently take your curls out of the bonnet. If you’re not feeling your front bantu knots, simply unwind them for a repeat of the bantu knot out!
Day 3: The side sweep. The side that you pinned up yesterday into a frohawk is slightly stretched now. So, take that same side and flat
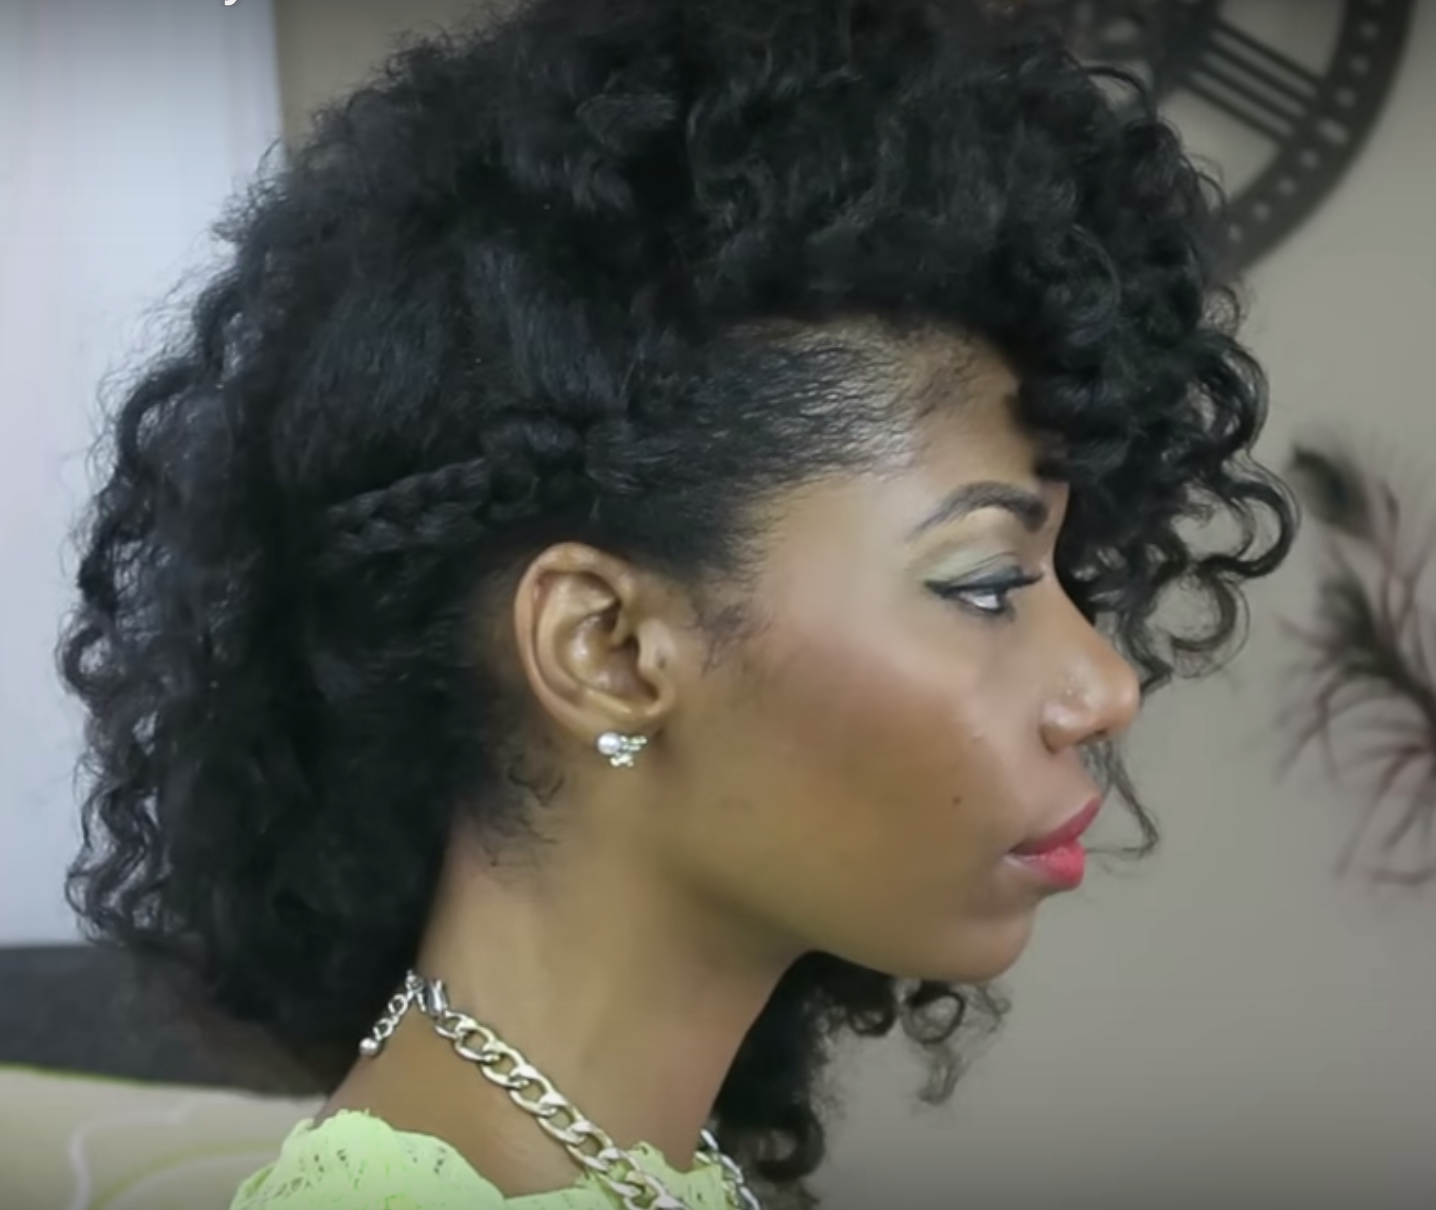
twist it to the back of your hair. Secure the flat twist with pins in the back, leaving one curly side out. Fluff the curls and spray your look with a bit of Glossy Finishing Hair Polish.
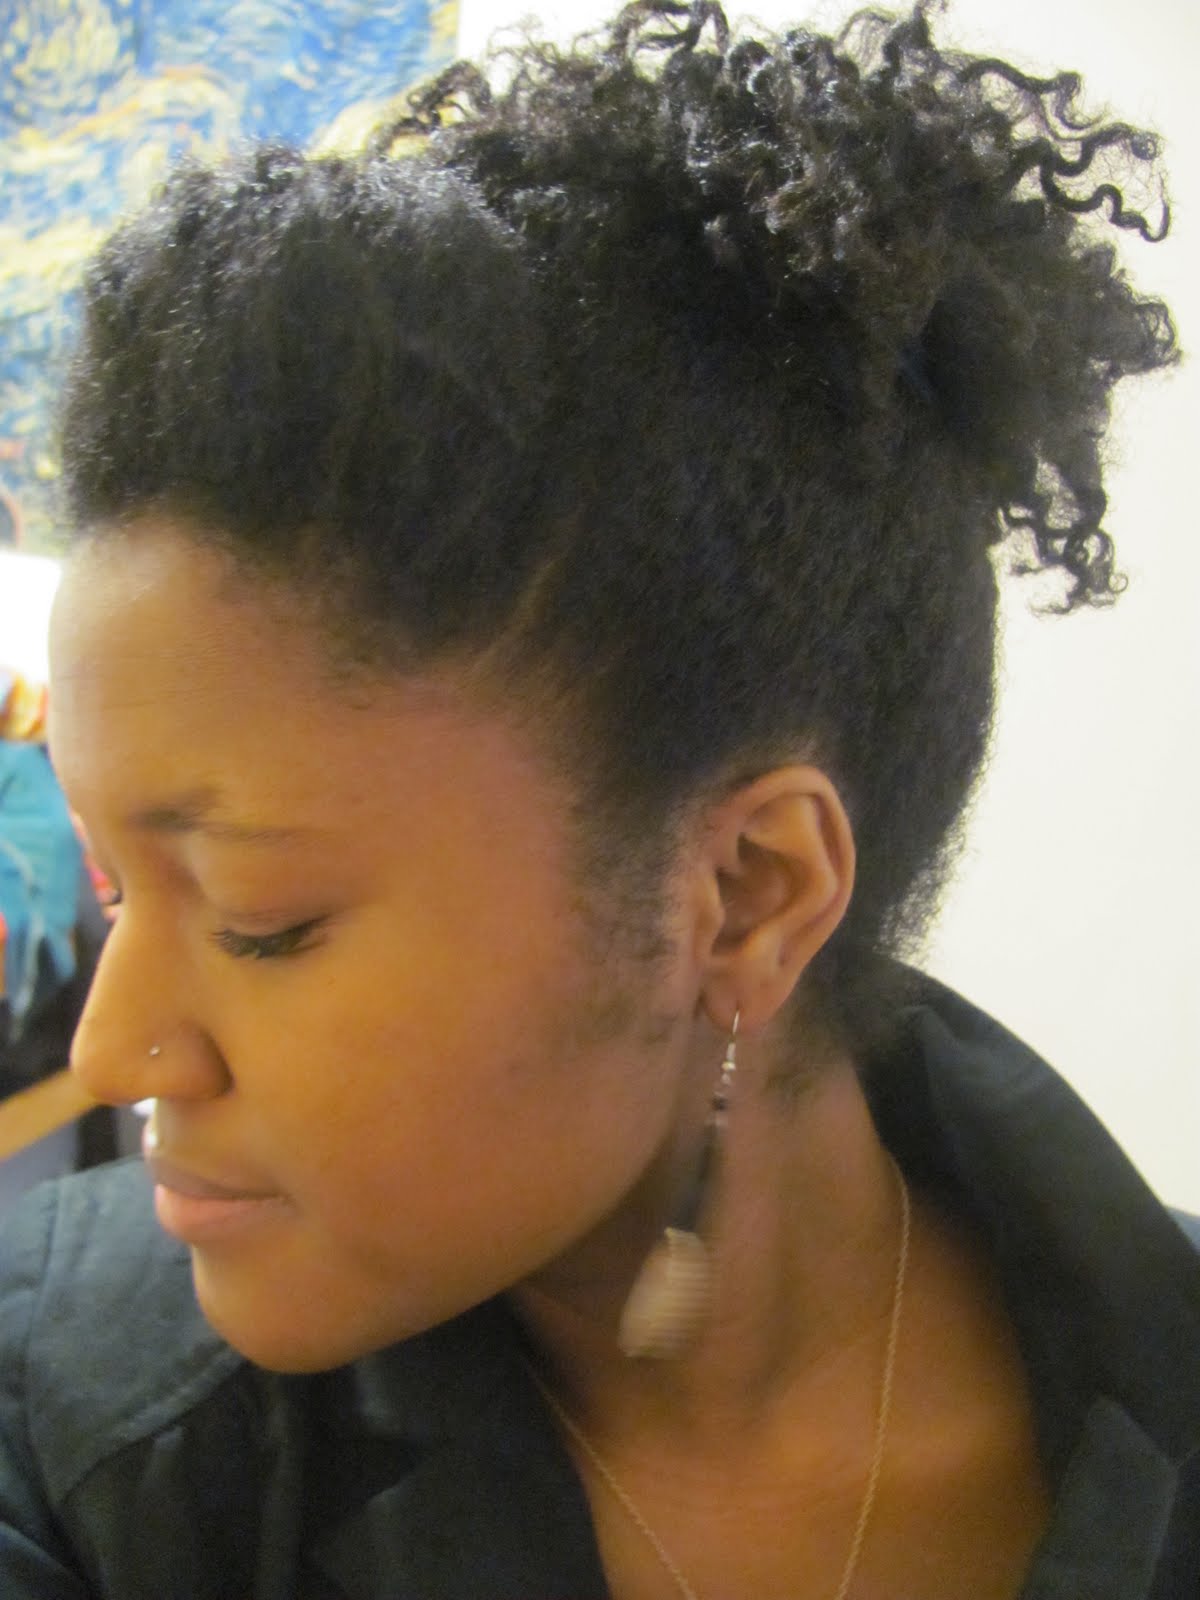
Day 4: The updo. It’s mid-week and your bantu knots aren’t looking so glam. Now’s the time to pull that style up into a nice, loose curly pony puff! You can make this into a messy updo or a smooth one, depending on your style. The first step is to take the front of your hair and make a v-shaped part and gently pin this away from the rest of your curls, being careful not to disrupt the curls. For a messy updo, lift the rest of your hair into an updo. Using a scrunchy, pull the hair up into a curly ponytail. Style the ponytail so the curls blend in with the front. If you want a smoother look, brush the edges down with Curly Magic Curl Stimulator, smooth the hair, and pull it tighter by wrapping the scrunchy around the hair 2 – 3 times. While smoothing, be careful…you don’t want to disrupt the curls at the top!
Day 5: The pompadour updo. Your hair is still in that updo. Simply take the loose curls in the
front and gently roll them away from your face towards your curly puff. To smooth the look, take a bit of Curly Magic Curl Stimulator and smooth the top of your pompadour before you roll it backward. Pin your rolled hair to the base of your head. Gently style the pompadour with your fingers until you get the fullness you want. Continue to restyle your curly puff. Finish with a bit of Glossy Finishing Hair Polish!

Day 6: The loose puff. Your almost there. It’s Saturday and you’re headed to your Saturday practice or activity. Simply pull the front of your hair into that ponytail and puff as desired. Again, you can make this a messy look by loosely pulling the curls up with the scrunchy (don’t wrap it if you want to keep the ponytail loose). For a smoother look, apply a bit of Curly Magic Curl Stimulator to the edges, brush the perimeter and wrap the scrunchy around your hair 2 – 3 times.
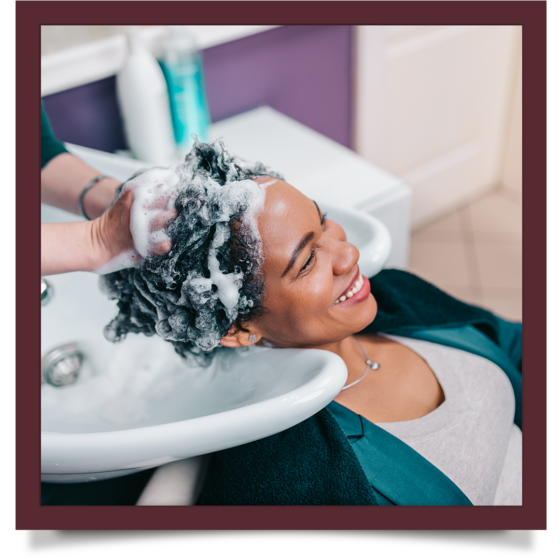
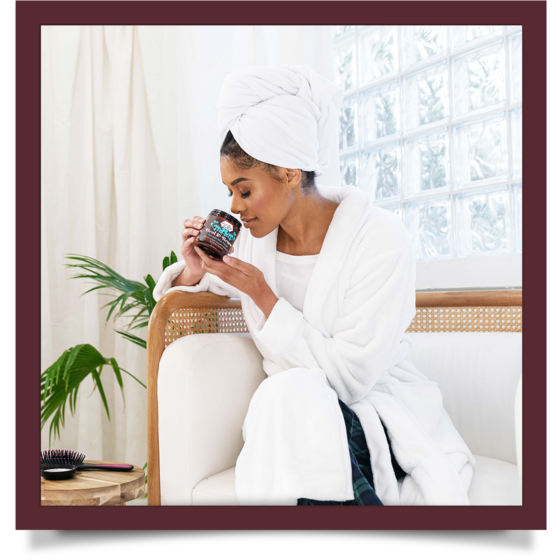
You’ve made it through the week! Now it’s wash day. Grab your Rich & Funky Moisturizing Shampoo and Richee Rich Moisturizing Conditioner to kick off your next week of hairstyles.