Achieving a flawless blowout at home can seem daunting, but with the right tools, products, and techniques, you can recreate that sleek, voluminous, salon-worthy style without stepping outside your door. Whether you’re prepping for a big event or simply want to switch up your look, mastering the blowout is a valuable skill that can save you time and money.
Here’s a step-by-step guide to help you get smooth, shiny, and voluminous results from the comfort of your own home.

The Essentials: What You’ll Need for a Perfect Blowout
Before diving into the process, make sure you have these essentials on hand:
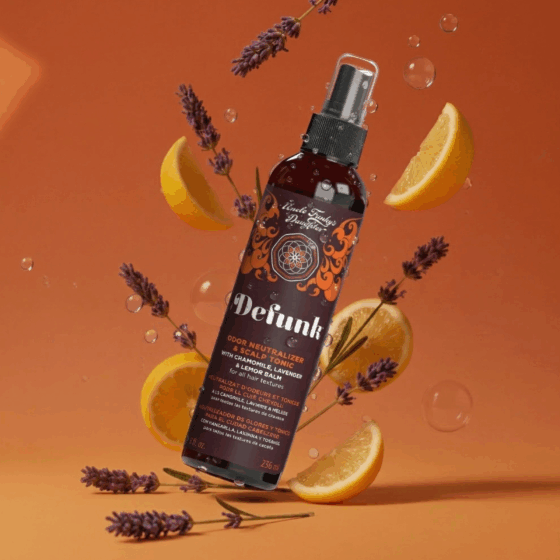
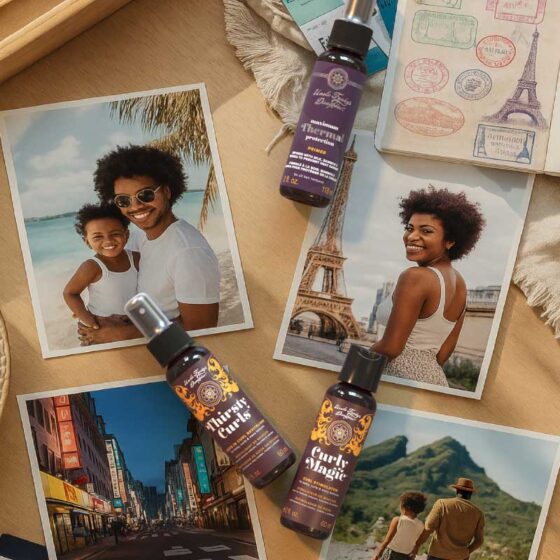
- Heat Protectant Spray: A non-negotiable step to shield your hair from heat damage.
- Round Brush: The right brush is key to creating volume and smoothness. A medium-to-large round brush works best for most hair lengths.
- Blow Dryer with a Nozzle Attachment: The nozzle focuses the airflow, helping you smooth the hair cuticle for a polished finish.
- Hair Clips: Sectioning your hair will make the blowout process more manageable and precise.
- Finishing Serum or Lightweight Oil: To add shine and tame any remaining frizz once your blowout is complete.
Step-by-Step Guide to Mastering the Blowout
1. Start with Clean, Damp Hair
For best results, begin with freshly washed hair. Use a sulfate-free shampoo and conditioner to create a smooth base for your blowout. After your shower, gently dry your hair using a microfiber towel or cotton t-shirt to minimize frizz. Avoid blow-drying sopping wet hair—allow your hair to air dry until it’s about 60-70% dry before moving on to the next step.
2. Apply a Heat Protectant
To prevent heat damage, evenly distribute a heat protectant spray throughout your damp hair. This step is crucial, especially if you regularly use heat tools. A heat protectant not only safeguards your hair but also helps retain moisture, leaving your blowout looking sleek and shiny.
3. Section Your Hair for Precision
Divide your hair into four to six sections using hair clips. This ensures you’ll have control over each part and won’t miss any areas while blow-drying. Start with the bottom layers and work your way up to ensure every strand gets equal attention.
4. Use the Right Technique
Attach the nozzle to your blow dryer to concentrate the airflow, then position the round brush at the roots of your first section. As you blow-dry, follow the brush with the dryer, pulling it downward to smooth the hair. For added volume, pull the brush upward at the roots and roll it as you reach the ends.
The key to a polished blowout is to keep the airflow moving downward, which helps to seal the cuticle and reduce frizz. Take your time with each section, ensuring the hair is fully dry before moving on to the next one.
5. Cool It Down
Once you’ve dried each section, use the cool shot button on your blow dryer. This quick blast of cool air helps to set your style and lock in shine, making your blowout last longer.
Blowout Tips for Salon-Worthy Results
1. Create Extra Volume
To give your blowout that professional-level lift, focus on creating volume at the crown of your head. After blow-drying each section at the crown, roll it up into a loose pin curl and let it cool while you finish the rest of your hair. This will give you extra lift once the curls are released.
2. Don’t Forget the Ends
Smooth, healthy-looking ends are crucial for a salon-quality blowout. If your ends feel dry or frizzy, apply a small amount of lightweight serum to the tips after blow-drying. This will keep them looking sleek and polished.
3. Tame Flyaways
Flyaways can ruin the finish of a blowout, so be sure to smooth them down using either your serum or a tiny bit of hairspray. Spray it on your fingertips and lightly smooth down any unruly pieces for a refined look.
4. Avoid Over-Drying
Over-drying can lead to frizz and leave your hair looking dull. Make sure to stop blow-drying when each section is fully dry and not a moment longer to maintain shine and minimize heat damage.
Long-Lasting Blowout Tips
Once you’ve mastered your blowout, the goal is to make it last! To extend the life of your style, consider the following:
- Sleep on a Silk Pillowcase: Silk minimizes friction, which helps keep your blowout smooth and frizz-free overnight.
- Use Dry Shampoo: On day two or three, spritz some dry shampoo at your roots to absorb any excess oil and maintain volume.
- Touch Up with a Blow Dryer: A quick blast of air from your dryer (with the cool setting) can help revive your blowout by smoothing any kinks or flat areas.
Final Thoughts: You’ve Got This!
With a little practice, you’ll be able to achieve a salon-worthy blowout in the comfort of your own home. Remember, the key is preparation: start with clean, damp hair, apply a heat protectant, and use the right technique. Take your time, and don’t be afraid to experiment with different tools or products to customize the perfect blowout for your hair type.